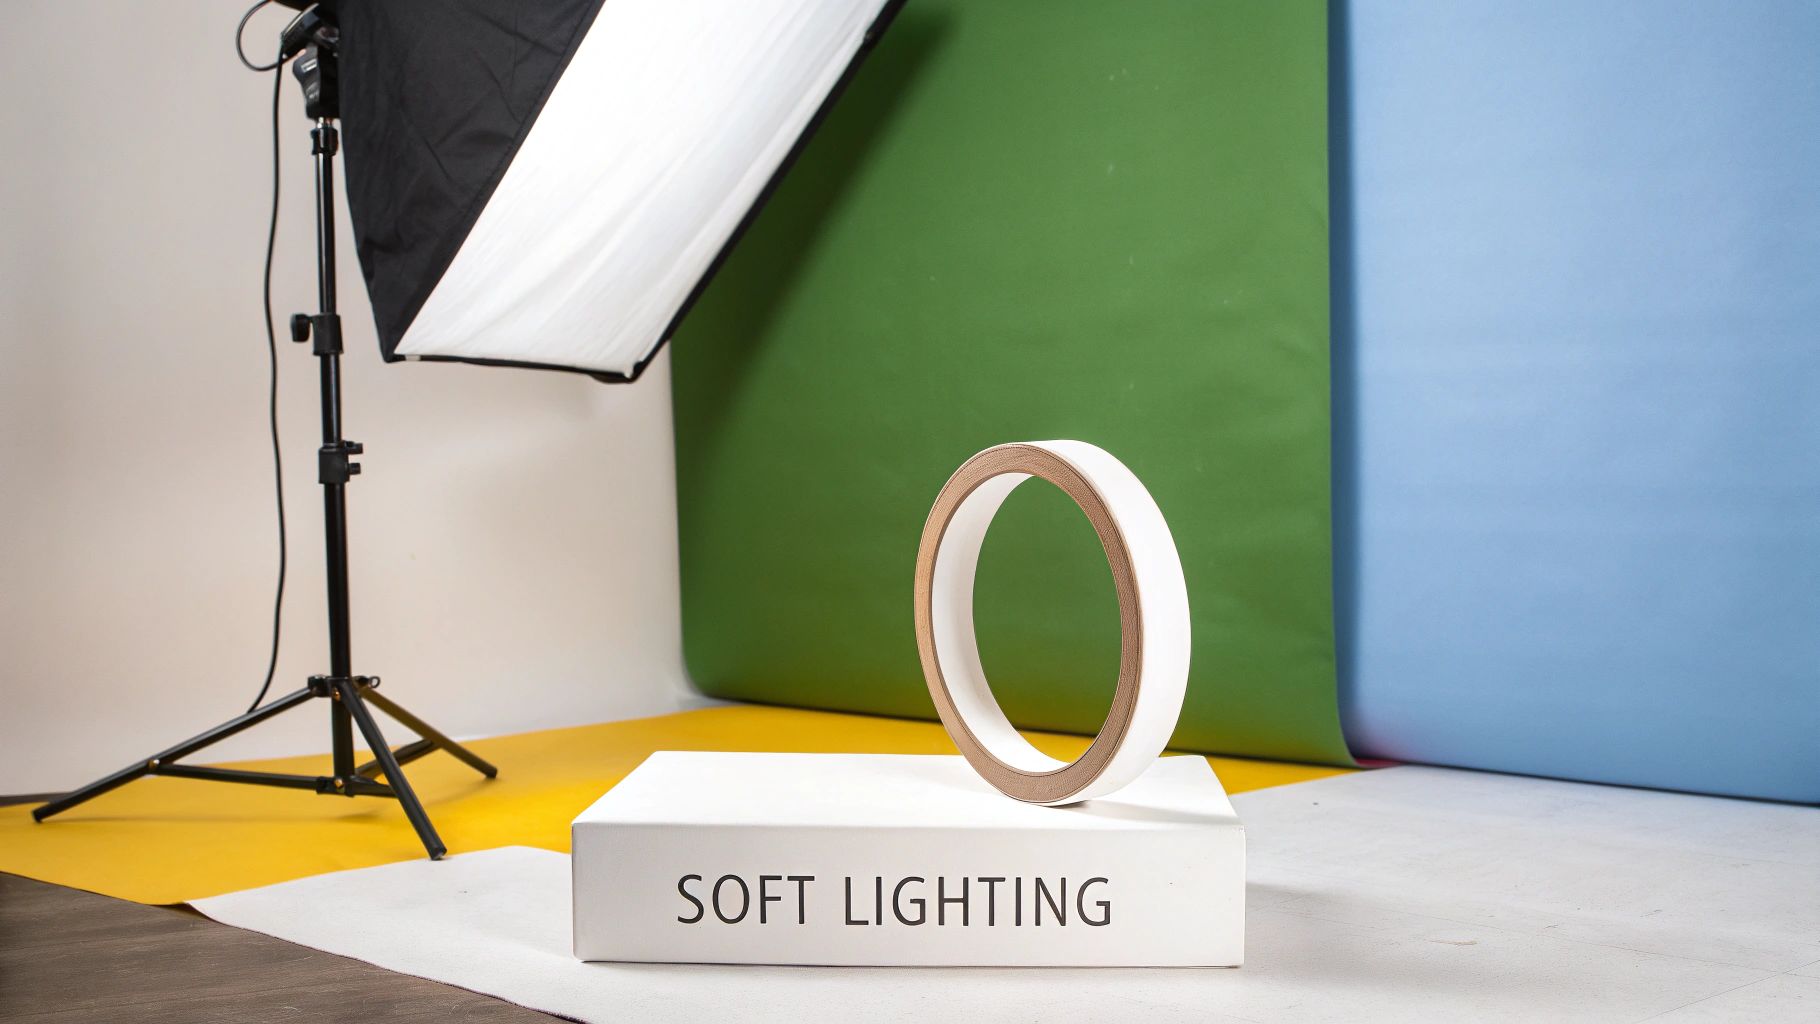
When it comes to making jewelry pop on camera, the secret isn’t a fancy lens—it’s light. The absolute best lighting for jewelry photography is soft, diffused, continuous light. This approach wraps your pieces in a gentle, even glow, which is the key to eliminating the harsh glare and deep shadows that kill detail and can make precious metals look cheap. Master this one principle, and you're already halfway to stunning photos that sell.
Why Your Jewelry Photos Look So Flat
Ever take a picture of a beautiful piece of jewelry, only to have it look dull and lifeless on screen? The gleam you see in professional shots comes from one thing: mastering light. The primary reason your photos look flat is likely due to using the wrong kind of light.
A common mistake is using direct flash or harsh, bright sunlight. This kind of light is the enemy of good jewelry photography. It washes out gemstones, creates distracting mirror-like reflections on metal surfaces, and turns a brilliant diamond into a flat white blob. A polished gold band just becomes a mess of glare, hiding its true beauty.
This guide is built on real-world experience, designed to give you the foundational know-how to take your photos from average to exceptional. Let’s start with the core principles before jumping into specific setups.
Moving Beyond Common Mistakes
Your goal is to control light, not just use whatever is available. A bright, sunny day might seem perfect, but direct sunlight creates scenes with extreme contrast—think deep, dark shadows and blown-out highlights. This completely obscures the delicate craftsmanship you’re trying to showcase.
The pop-up flash on your camera is just as bad. It blasts your subject with a flat, head-on light that erases all sense of depth and dimension, making your jewelry look two-dimensional.
The key takeaway is simple: soft, controlled light is what separates amateur shots from professional-quality images. It’s all about creating a gentle illumination that defines the facets of a gem and the smooth curves of the metal.
What You Will Learn
This guide will walk you through the entire process of achieving that professional look. We’ll cover everything you need to know to make your jewelry shine, focusing on actionable advice you can start using right away.
You’ll get a clear understanding of:
- Light Sources: The real-world pros and cons of using natural window light versus the consistency of artificial light.
- Light Modifiers: How to shape and soften your light with essential tools like softboxes and diffusers.
- Practical Setups: Replicable lighting configurations for rings, necklaces, and other common pieces.
- Camera Settings: The non-negotiable camera settings you need to capture sharp, vibrant images.
But before you even think about shooting, make sure your pieces are immaculate. Even the best lighting will highlight smudges, dust, and fingerprints. For precious items, knowing how to clean an engagement ring properly can make a massive difference in the final photo, ensuring every single facet is captured brilliantly.
Let’s get started on making your jewelry look as stunning as it does in person.
Natural vs. Artificial Light: Which One Is Your Best Bet?
When it comes to lighting jewelry, your first big choice is deciding between natural sunlight and an artificial studio setup. The best path depends on your goal—are you creating a dreamy, artistic shot for Instagram or building a crisp, consistent catalog for your online store?
Natural light, especially from a window on a cloudy day, can give your photos a gorgeous, high-end feel. It's free and wraps around jewelry in a way that feels authentic. However, its biggest strength is also its greatest weakness: it's completely inconsistent. The light changes throughout the day, making it nearly impossible to shoot a consistent product line.
For e-commerce, artificial light is the clear winner. It offers complete, repeatable control. Continuous LED kits are the industry standard for a reason: you can set them up once and get the exact same result every time, ensuring your entire online store looks cohesive and professional.
Making Natural Light Work for You
If you choose natural light for artistic shots, your job is to tame it. Direct, blazing sunlight will create harsh reflections and deep shadows. You want soft, indirect light.
Here’s how to get it right:
- Find the Right Window: A large, north-facing window is ideal because it provides steady, indirect light all day.
- Wait for a Cloudy Day: An overcast sky acts as a giant natural softbox, creating an even, gentle glow perfect for reflective surfaces.
- Use a Reflector: This is non-negotiable. Place a simple white foam board opposite your window to bounce light back onto the jewelry, filling in dark spots and making the piece pop.
While natural light can be beautiful, its unreliability makes it impractical for serious e-commerce sellers who need uniform product images.
If you're running an online store, consistency is key to building a professional brand. Artificial light lets you create the exact same lighting environment for every single photoshoot, whether it’s noon or midnight, sunny or storming.
Taking Full Control with Artificial Lighting
For the kind of consistency professional product photography demands, nothing beats artificial light. When shopping for continuous LED kits, look for a few key features. You're not just buying a light; you're investing in control.
First, ensure the kit has adjustable brightness and color temperature. A Color Rendering Index (CRI) of 95+ is critical. This number indicates how accurately the light will reveal the true colors of your materials. A low CRI can make brilliant gold look dull or vibrant sapphires appear washed out.
The ability to dim your lights is another must-have. It allows you to fine-tune the exposure on a tiny, reflective object without having to physically move your entire setup. This level of precision is what separates amateur shots from stunning, high-quality product images.
How to Shape and Soften Your Light
Having a great light source is one thing; knowing how to tame it is where the real magic happens. If you just point a bare, harsh bulb directly at a diamond ring, you’ll get a chaotic mess of hot spots, ugly reflections, and deep shadows that hide the details.
The secret to clean, professional-looking images is diffusion. Your goal is to take that small, intense point of light and spread it out. You want to create a much larger, softer source that wraps gently around the jewelry, revealing its form and brilliance without the glare.
The Essential Tools: Light Modifiers
To get that soft, beautiful light, you need light modifiers. These are tools you place between your light source and your subject to transform harsh glare into something flattering. For jewelry, the two most important modifiers are softboxes and light tents.
- Softboxes: These are enclosed fabric boxes that fit over your light source to produce a broad, directional light. They are excellent for sculpting soft, defining shadows and highlights that give a piece shape and dimension.
- Light Tents (or Lightboxes): These are cube-like tents made from translucent white fabric. You place your jewelry inside the tent and light it from the outside. The result is incredibly soft, even, and almost shadowless light—perfect for clean product shots.
For anyone shooting for e-commerce, a light tent is often the perfect place to start. It simplifies the process and delivers clean, consistent images with minimal fuss.
Here's a key principle to remember: The larger the light source is in relation to the subject, the softer the light will be. This is exactly why a big softbox can create such a gentle, flattering glow on a tiny earring.
Matching the Modifier to the Jewelry
The tool you pick depends on the look you want to achieve.
For a dramatic shot of a ring where you want subtle, defining shadows to emphasize its shape, a smaller softbox placed to the side works wonders. For a large, intricate necklace, a bigger softbox or a light tent provides the broad, even coverage needed to illuminate the entire piece without losing fine details.
The growing demand for high-quality visual content has fueled a massive expansion in the photography equipment market. In 2023, this market was valued at around $2.5 billion and is projected to nearly double by 2032. This shows how critical specialized tools are for capturing the fine details of jewelry, especially for e-commerce. You can find more insights on the photography lighting market and its projected growth online.
Practical Lighting Setups You Can Use Today
Theory is great, but let's get practical. It's time to move from concepts to concrete, repeatable lighting configurations you can build right now. These are proven starting points that work for a huge range of jewelry, from delicate earrings to intricate necklaces.
The most common and versatile configuration is the classic two-light setup. It’s a professional standard for a reason. This approach uses a main (key) light and a secondary (fill) light to sculpt your jewelry, creating soft shadows that define its shape and texture.
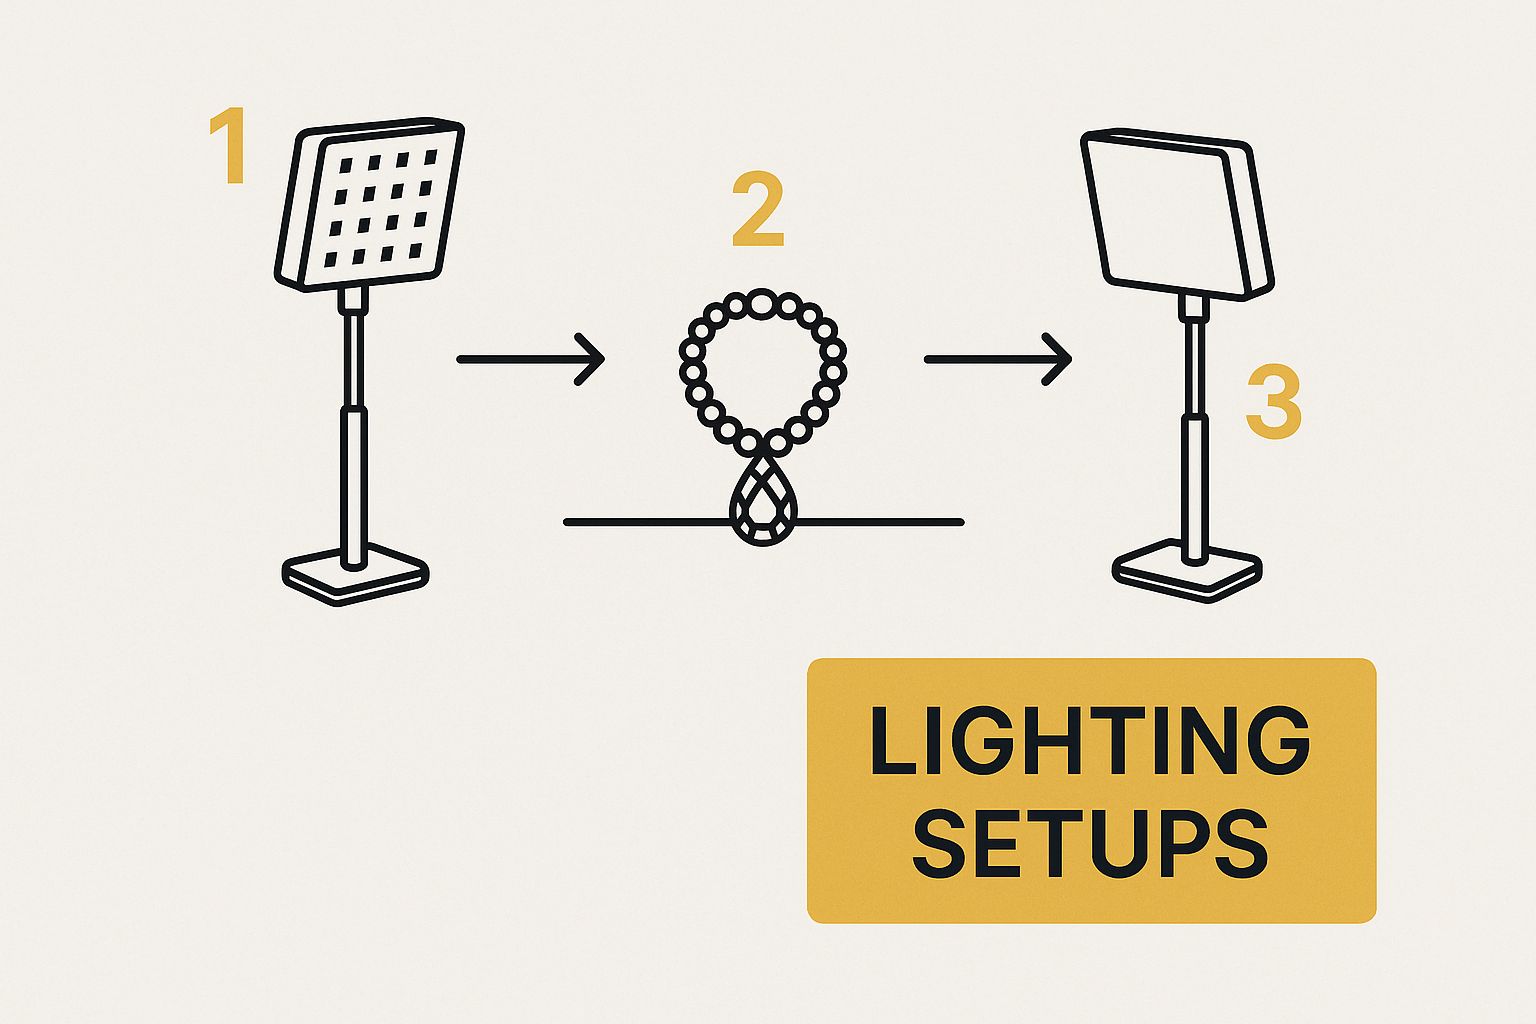
The Classic Two-Light Setup
First, place your main light—usually fitted with a softbox—at a 45-degree angle to one side of your jewelry. This is your primary light source, establishing the main highlights and shadows.
Next, bring in your fill light on the opposite side, also at a 45-degree angle. This light must be less intense than your main one. You can either dim its power or simply move it further back. Its only job is to soften the shadows cast by the key light, not eliminate them. This ensures you can still see all the beautiful details in the darker areas.
This visual shows a simple studio setup with two LED panel lights, giving you a great look at this foundational two-light approach in action.
The key here is balance. One light provides shape and drama, while the other ensures no detail gets lost in shadow. You can enhance this setup by pairing it with creative jewelry display ideas for your boutique that complement your lighting.
Backlighting for Gemstone Brilliance
Here’s a technique that can completely transform how you shoot gemstones. For anything transparent or semi-transparent, backlighting is pure magic. This involves placing your main light source behind the jewelry, pointing it back toward the camera.
This method makes gems like sapphires, emeralds, and rubies look like they’re glowing from within. It’s the best way to highlight their internal character and vibrant color. To keep the metal visible, just add a reflector or a very weak fill light from the front to gently illuminate the setting, being careful not to overpower the gem's inner glow.
The Ring Light Method for E-commerce
Need clean, shadow-free images perfect for platforms like Amazon or Etsy? The ring light method is your best friend. A ring light provides direct, even illumination from all angles around your camera lens.
This approach practically erases shadows and creates a bright, uniform look that makes everything sparkle. It's especially useful for macro shots of rings and earrings where every tiny detail needs to be crystal clear without any distracting shadows.
Ring lights have become a secret weapon for e-commerce sellers. They produce consistently clean, bright images with minimal fuss, making them an excellent tool for building a professional and uniform product catalog without a ton of technical headaches.
The market backs this up. The global ring lights market was valued at USD 9.02 billion in 2023 and is expected to explode to USD 48.1 billion by 2035. This growth is fueled by e-commerce sellers and content creators who need flawless lighting to make their products pop online.
Camera Settings and Editing for a Polished Look
Getting the lighting right is a huge win, but your camera settings translate that beautiful light into a stunning digital image. If your settings are off, even the best lighting setup won't save you. Getting a few key settings dialed in is non-negotiable for achieving that crisp, professional look.
Nailing the Technical Details
The most critical setting is your aperture. For jewelry, you need a deep depth of field to ensure the entire piece is tack-sharp, from the front facet of a gemstone to the back of the band.
To achieve this, use a small aperture—f/11 or higher (like f/16). A wide aperture like f/2.8 might create a nice blurry background for portraits, but for a ring, it will leave most of your product disappointingly out of focus.
Next is your ISO. This controls your camera's sensitivity to light. For clean, grain-free images, keep it as low as possible—ISO 100 or 200. Anything higher introduces digital "noise," which looks like ugly graininess and will cheapen your photos.
Because you're using a small aperture and low ISO, your camera will need a slower shutter speed. This makes a sturdy tripod an absolute must-have to prevent any camera shake.
Finally, set a custom white balance. Don't trust your camera's auto setting. Shoot a gray card in your exact lighting setup to calibrate your camera. This simple step ensures gold looks like true gold and diamonds look brilliant white. Accurate color is everything for building customer trust online.
The Final Polish in Post-Processing
Even with perfect lighting and camera settings, a little post-processing adds that final professional polish. You don’t need to be a Photoshop wizard, but a few key adjustments in a program like Lightroom can make a world of difference.
- Strategic Sharpening: Apply a small amount of sharpening focused only on the jewelry itself to make intricate details and facets pop.
- Dodging and Burning: This just means selectively lightening (dodging) and darkening (burning) small areas. Subtly dodging the facets of a gemstone can dramatically enhance its sparkle and bring it to life.
- Minor Color Corrections: Make small tweaks to ensure the colors on screen perfectly match the real-life piece.
This obsession with detail is why photographers invest in specialized gear. The North American market, for instance, shows a huge demand for professional equipment, and in 2025, it's projected to hold a 32.75% share of the global photography lighting equipment market. This investment is driven by the need for flawless images in the competitive jewelry industry. You can learn more about the photography lighting market to see just how much the industry is growing.
Common Questions About Jewelry Photography Lighting
Even seasoned photographers face challenges with lighting. Jewelry is tricky, and a few common questions always come up. Let's tackle these nagging problems with practical, actionable advice. Getting these details right is what separates a decent product photo from one that truly sells.
What Is the Best Color Temperature for Lighting Jewelry?
The best color temperature is between 5000K and 5600K. This range is the industry standard because it perfectly mimics clean, natural daylight. Your goal is not a warm, moody vibe, but absolute color accuracy.
This "daylight balanced" white light is crucial for ensuring a ruby looks like a ruby and a gold band looks truly golden, not orange. Always set a custom white balance on your camera to match your lights. When you’re selling online, what the customer sees on screen must match what they get in the box. Color accuracy builds trust and reduces returns.
How Do I Stop Reflections in My Jewelry Photos?
First, you don’t want to eliminate reflections entirely. Reflections are what make metal look metallic. The goal isn’t to kill them but to control them. You want to turn harsh, distracting glares into soft, elegant highlights that define the piece’s shape.
Here are a couple of practical strategies:
- Use a Larger Diffuser: A large softbox or a full light tent wraps your subject in a broad, gentle light. This creates smooth, flattering reflections that trace the curves of the jewelry instead of creating jarring hot spots.
- Use Black Cards for Definition: This is a pro-level trick that works wonders. Place small black foam cards just outside the camera's frame. These will cast clean, dark reflections onto the metal, which adds incredible contrast and definition. It makes the piece look sharper, more three-dimensional, and far more expensive.
Reflections aren't the enemy; uncontrolled reflections are. Think of yourself as a sculptor. By shaping your light and using tools to absorb it where needed, you can carve out highlights that make every single curve and edge pop.
Can I Use Just One Light Source?
Absolutely. In fact, a single-light setup is a fantastic way to start, and it can produce incredibly professional results if you use one secret ingredient: a reflector.
Here’s the setup: place a large, diffused light source (like your softbox) to one side of the jewelry. On the opposite side, prop up a simple white foam board or reflector card. The card will catch the light and bounce it back, gently filling in any harsh shadows. This simple technique gives you a beautiful, dimensional look without the complexity of managing multiple lights.
Of course, great lighting works best on great jewelry. That’s why we take pride in the quality of our pieces at Precious Pulse. For instance, knowing the qualities of jewelry that won't tarnish helps you select pieces that will look just as pristine on camera as they will for your customers years from now.
Ready to find the perfect piece to practice your new lighting skills on? At Precious Pulse Jewelry, we offer a stunning collection of stylish and affordable jewelry perfect for any occasion. Explore our beautiful necklaces, rings, and earrings today.