Oxidising silver is a fantastic way to give your jewelry a bit of an edge—an antique-like patina that adds depth and a handcrafted feel. It’s a chemical process, but think of it less like a science experiment and more like an art project. By intentionally darkening the metal, you can transform a simple piece into something with vintage soul, making the details of the design truly stand out.
The Artistic Appeal of Oxidised Silver
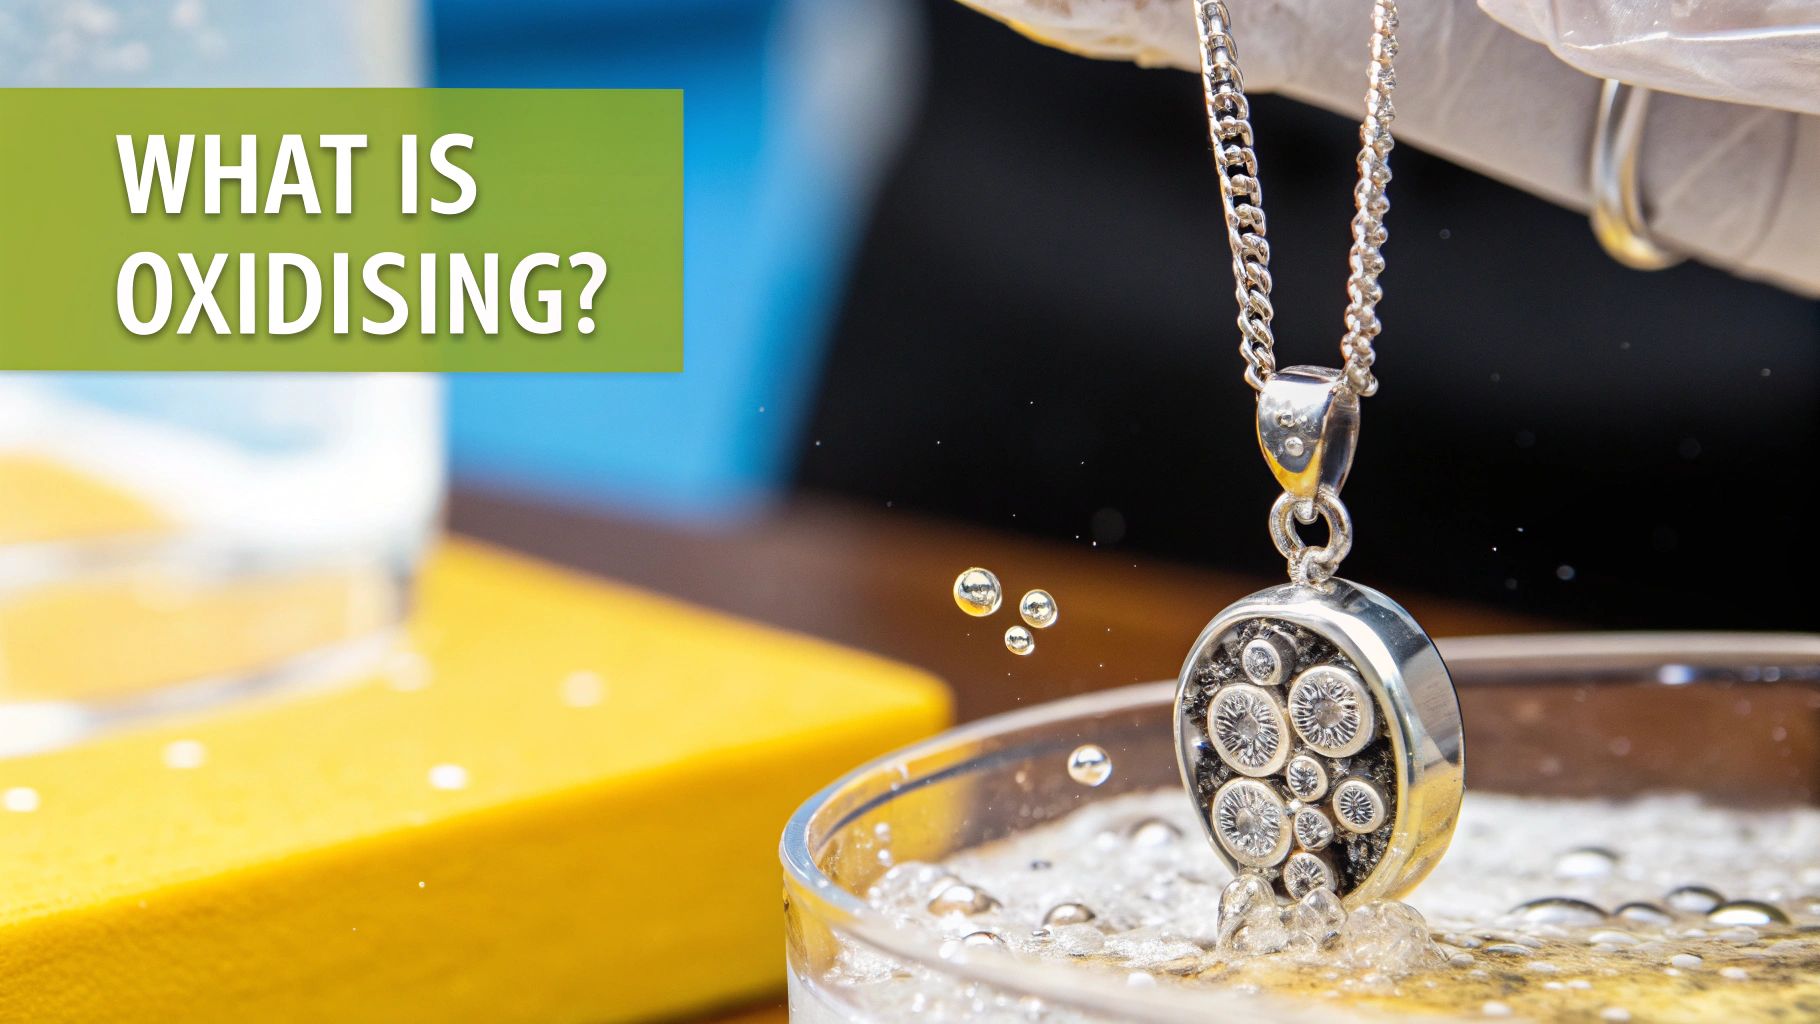
When you oxidise silver, you’re making an artistic choice to give your favorite pieces a timeless, lived-in look. This controlled darkening is completely different from the uneven, splotchy look of natural tarnish. It's a deliberate technique used to enhance a piece's beauty.
This technique is so popular because of the stunning contrast it creates. The darkened, recessed areas make the polished, raised surfaces pop, highlighting every intricate detail, texture, and engraving that might otherwise go unnoticed. It’s why so many artisans and jewelry lovers are drawn to the rustic charm of an oxidised finish.
A Timeless Tradition
This isn't a new trend by any means. Historically, artisans in the Byzantine and Renaissance eras used oxidation to make their complex designs stand out. That tradition is alive and well today. In fact, it's estimated that 70-80% of silver jewellery found in artisanal markets has been intentionally oxidised to meet the demand for that vintage aesthetic.
This deliberate darkening gives modern pieces an instant sense of history and character. It allows the craftsmanship to take centre stage, turning a simple design into a true statement.
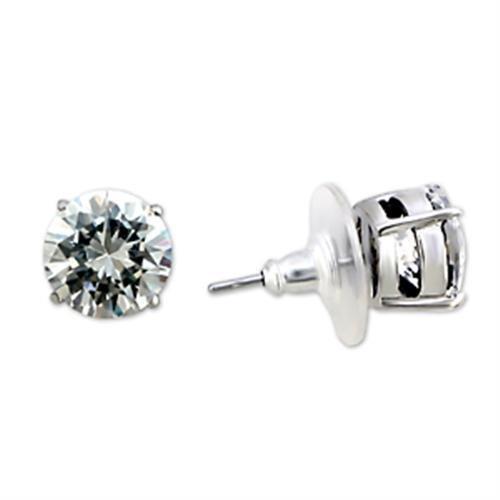
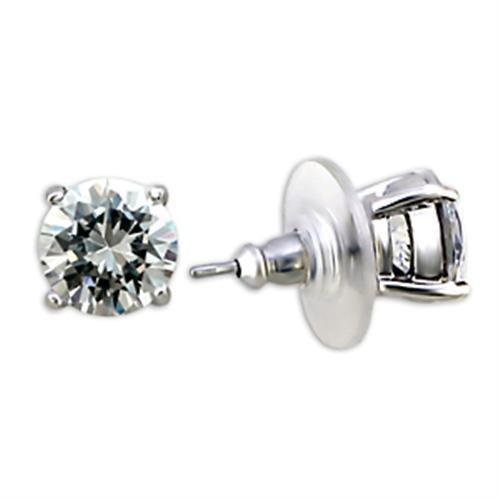
You can take something as classic as a set of elegant silver rings and apply an oxidising finish to bring out their unique characteristics. The process creates a one-of-a-kind, handcrafted look that stands out, making it the perfect style for anyone wanting jewelry with real personality. The result is a piece that feels both personal and artistically complete.
Everything You Need to Get Started
Before you start giving your silver that gorgeous, antique look, you’ll need to get your workspace and tools in order. Having everything laid out and ready to go makes the whole process feel less like a chemistry lesson and more like the fun, creative project it is. It’s the key to getting that perfect finish without any last-minute scrambling.
First up, the magic ingredient: your oxidising agent. You’ve got a couple of options here, and your choice depends on how much control and speed you want.
For a professional-grade, super-fast result, nothing beats liver of sulfur. It’s what most jewelers use, and it comes in either a gel or a solid rock-like form. Mix it with hot water, and it creates a dark, consistent patina in just a few minutes. It's potent but incredibly effective.
If you're just dipping your toes in or prefer a more low-key, natural approach, you can actually use hard-boiled eggs. It sounds strange, but it works! The sulfur gases released from mashed, warm eggs in a sealed container will create the same chemical reaction, just much more slowly. It’s a fantastic, low-stakes way to experiment without buying special chemicals.
Safety First, Always
Working with chemicals—even natural ones—means putting safety front and center. Your workspace is just as crucial as your tools. Make sure you’re in a well-ventilated spot, like a room with the windows open or even outside on a patio. The fumes from liver of sulfur can be quite strong (think rotten eggs!), so good airflow is non-negotiable.
Here are the absolute must-haves for your safety kit:
- Safety Goggles: Protect your eyes from any unexpected splashes.
- Gloves: A pair of nitrile or latex gloves is essential to keep the solution off your skin.
- Plastic or Glass Containers: Do not use metal bowls. They can react with the oxidising solution and ruin the process.
Remember, the goal is to darken your jewelry, not to put yourself at risk. A few simple precautions make the entire project safe and enjoyable from start to finish.
You’ll also want a few other things on hand to complete the job. Grab some mild dish soap for cleaning the silver before you start, a soft cloth for drying, and a bit of baking soda to neutralize the reaction when you've achieved the perfect level of darkness.
Comparing Home Oxidising Methods
Choosing the right method can feel overwhelming, so let's break down the most common approaches. This table lays out what you'll need for each and what kind of results you can expect.
| Method | What You Need | Difficulty Level | Speed | Resulting Finish |
|---|---|---|---|---|
| Liver of Sulfur | Liver of sulfur (gel/solid), hot water, glass/plastic bowl, tweezers | Intermediate | Very Fast (1-5 minutes) | Dark, even, professional-looking black or grey patina. Highly controllable. |
| Hard-Boiled Eggs | Hard-boiled eggs, a sealable plastic bag or container | Beginner | Very Slow (8-24 hours) | A lighter, more organic patina. Can be slightly uneven, creating a more rustic look. |
Ultimately, if you're looking for speed and precision, liver of sulfur is your best bet. But if you're just starting out or want a more subtle effect, the boiled egg method is a fun and easy way to begin.
Let's Get Your Silver Ready for a Makeover
Ready to give your silver a dramatic new look? This is where the real fun begins. Giving silver jewelry that deep, moody patina is all about following a few key steps. It really comes down to three things: a spotless start, a controlled chemical dip, and knowing exactly when to stop the reaction.
When you nail this process, you end up with a professional-looking finish that makes your piece look like it came from a high-end artisan boutique.
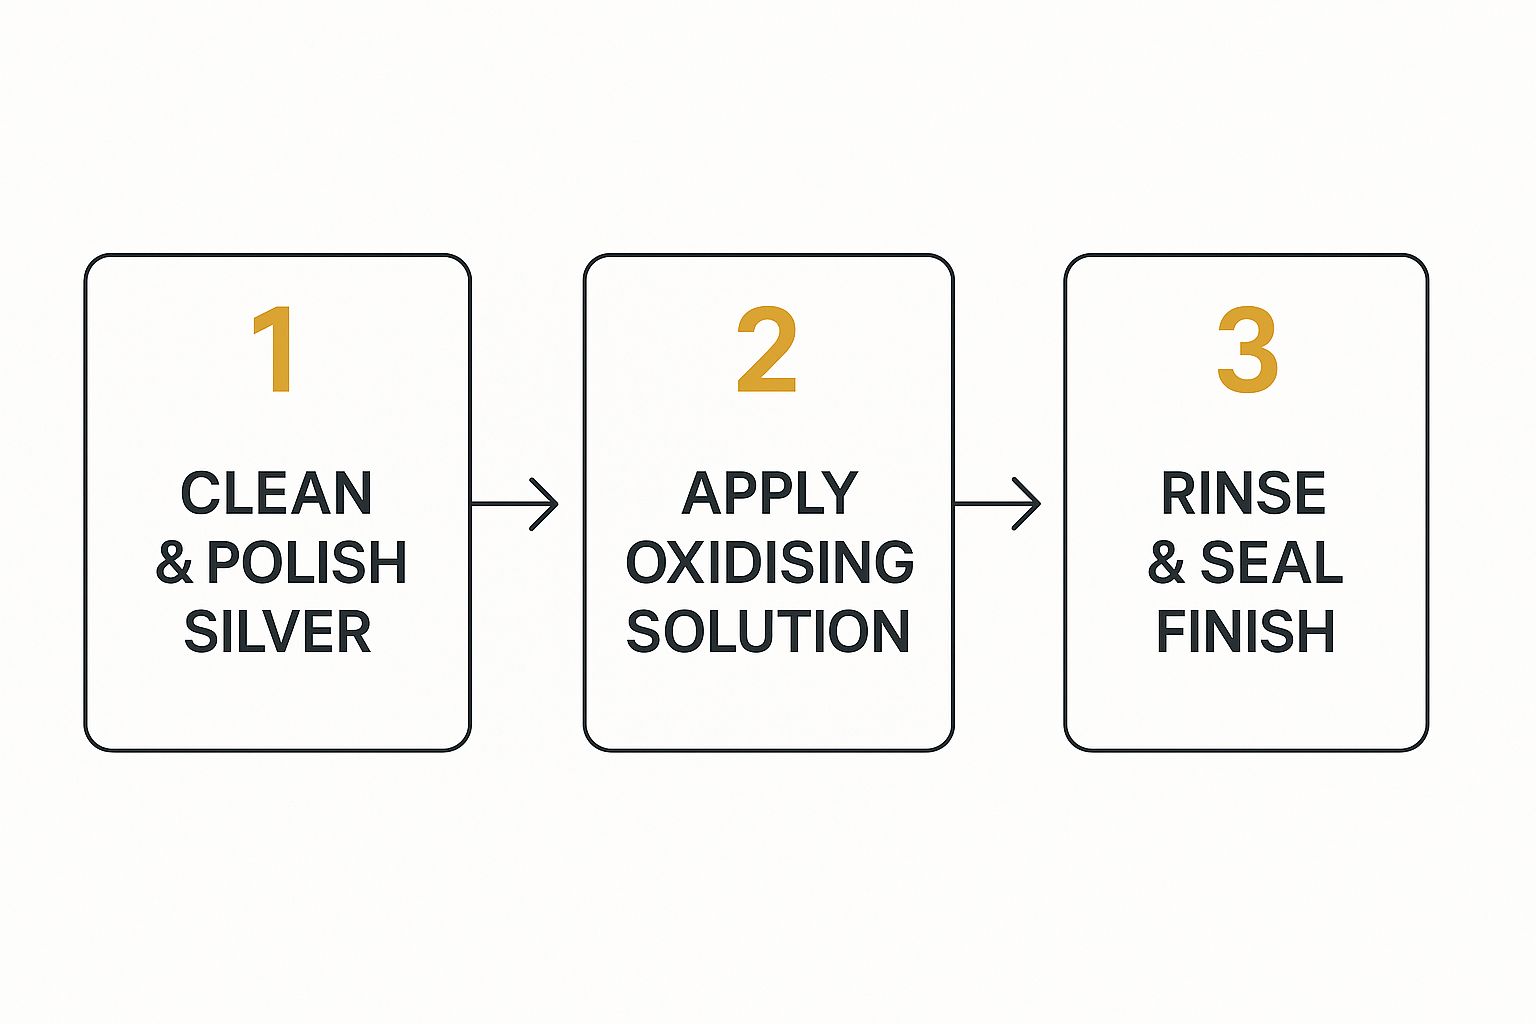
As you can see, it's a straightforward path from a clean piece to a sealed, finished work of art. The magic really happens in that middle step.
Step 1: Prep Like a Pro
Before you even think about oxidising your piece, it has to be completely, utterly clean. I mean squeaky clean. Any lingering oils from your skin, lotions, or fingerprints will create an invisible barrier, stopping the solution from working evenly. The result? A splotchy, uneven finish that looks homemade in all the wrong ways.
Start by giving your jewelry a good wash with warm water and a drop of mild dish soap. Use a soft-bristled toothbrush to gently scrub into all the details and crevices where grime loves to hide.
Once it's sparkling, rinse it thoroughly and pat it dry with a soft, lint-free cloth. From this point on, handle it by the edges to avoid getting fresh fingerprints on your clean surface.
The cleaner your silver is, the richer and more uniform your patina will be. Taking five extra minutes on this prep work is the difference between an amateur attempt and a stunning, artisanal finish.
Step 2: Time for the Transformation
Alright, now for the main event. If you're using liver of sulfur, mix a tiny amount—a pea-sized drop of gel or a crumb-sized piece of the solid form—into a cup of hot water in your glass or plastic container. The water doesn't need to be boiling, just hot enough to steam. The solution should turn a pale, slightly stinky, yellowish color.
Using your non-metal tweezers, fully submerge your clean silver into the solution. Keep your eyes on it, because the change happens fast! You'll see the silver shift through a rainbow of colors.
- First, it’ll turn a light golden yellow.
- Next, it deepens into coppery reds and purples.
- Finally, it will hit a dark gunmetal grey before settling into a rich, velvety black.
The trick is to pull the piece out just before it hits the exact shade you want, as it will continue darkening for a few seconds. For a classic gunmetal grey, you might only need 10-15 seconds, while a deep black could take up to a minute.
Step 3: Stop the Reaction and Lock It In
The moment you've hit that perfect color, you must stop the chemical reaction. Immediately plunge your jewelry into a neutralizing bath. This is simply a bowl of cool water with a tablespoon of baking soda stirred in.
Let your piece soak in the baking soda bath for a minute or two. Swish it around to make sure the neutralizer gets into every nook and cranny. This step is critical. If you skip it, the sulfur can continue to react with the silver, which can cause the finish to flake off later.
After its bath, give it one last rinse in clean water and pat it completely dry. Your piece is now perfectly oxidized and ready for the final polishing touches.
Polishing for a Professional Finish
Once your jewelry is out of its neutralizing bath, the real magic begins. The piece is now a solid dark grey or black, but the true artistry of oxidising silver comes from the contrast you create with polishing. This is where you bring the design to life, highlighting its hidden details and giving it incredible depth.
The goal is to gently buff away the dark patina from the raised surfaces while leaving the recessed areas dark. This contrast makes every little detail pop, from intricate engravings to subtle textures. It’s what transforms a flat, dark object into a dynamic, professional-looking piece of art.
Choosing Your Polishing Tools
You don’t need a workshop of fancy equipment to get a stunning finish. Two simple tools will give you all the control you need.
- A Professional Polishing Cloth: For a brilliant, high-shine finish, nothing beats a jeweler’s polishing cloth. Often available at jewelry stores or online, they are treated with a micro-abrasive to lift the patina and buff the silver to a mirror shine.
- Super-Fine Steel Wool (Grade #0000): If you're going for a softer, satin, or matte look, #0000 grade steel wool is your best friend. It gently removes the oxidation without creating a high-gloss surface, perfect for a more rustic effect.
Pro Tip: Start gently! You can always polish more, but you can’t easily put the oxidation back on. Use light pressure and check your progress often so you don't accidentally remove too much.
Begin by rubbing your chosen tool over the highest points of your design. For a ring, that might be the top of the band and the edges of a setting. On a pendant, focus on the raised patterns and the bail. You'll see the bright, shining silver emerge, creating a beautiful visual separation from the darkened background.
Keep at it until you’re happy with the balance of light and dark. For more advice on keeping the shiny parts of your jewelry looking their best, check out our detailed guide on how to clean sterling silver jewelry. This final step is all about your personal taste.
Taking Care of Your Oxidised Silver
So, you’ve spent time getting that perfect, moody finish on your silver jewelry. The last thing you want is to watch it fade away. Caring for oxidised silver is about gentle preservation, not aggressive cleaning. Remember, that beautiful dark finish is a surface treatment, which means it can be accidentally stripped off.
The biggest mistake people make is treating it like their other shiny silver. You absolutely must avoid harsh chemical dips and ultrasonic cleaners. Those products are designed to obliterate tarnish and will just as quickly erase the dark patina you worked so hard to create.
Gentle Cleaning and Smart Storage
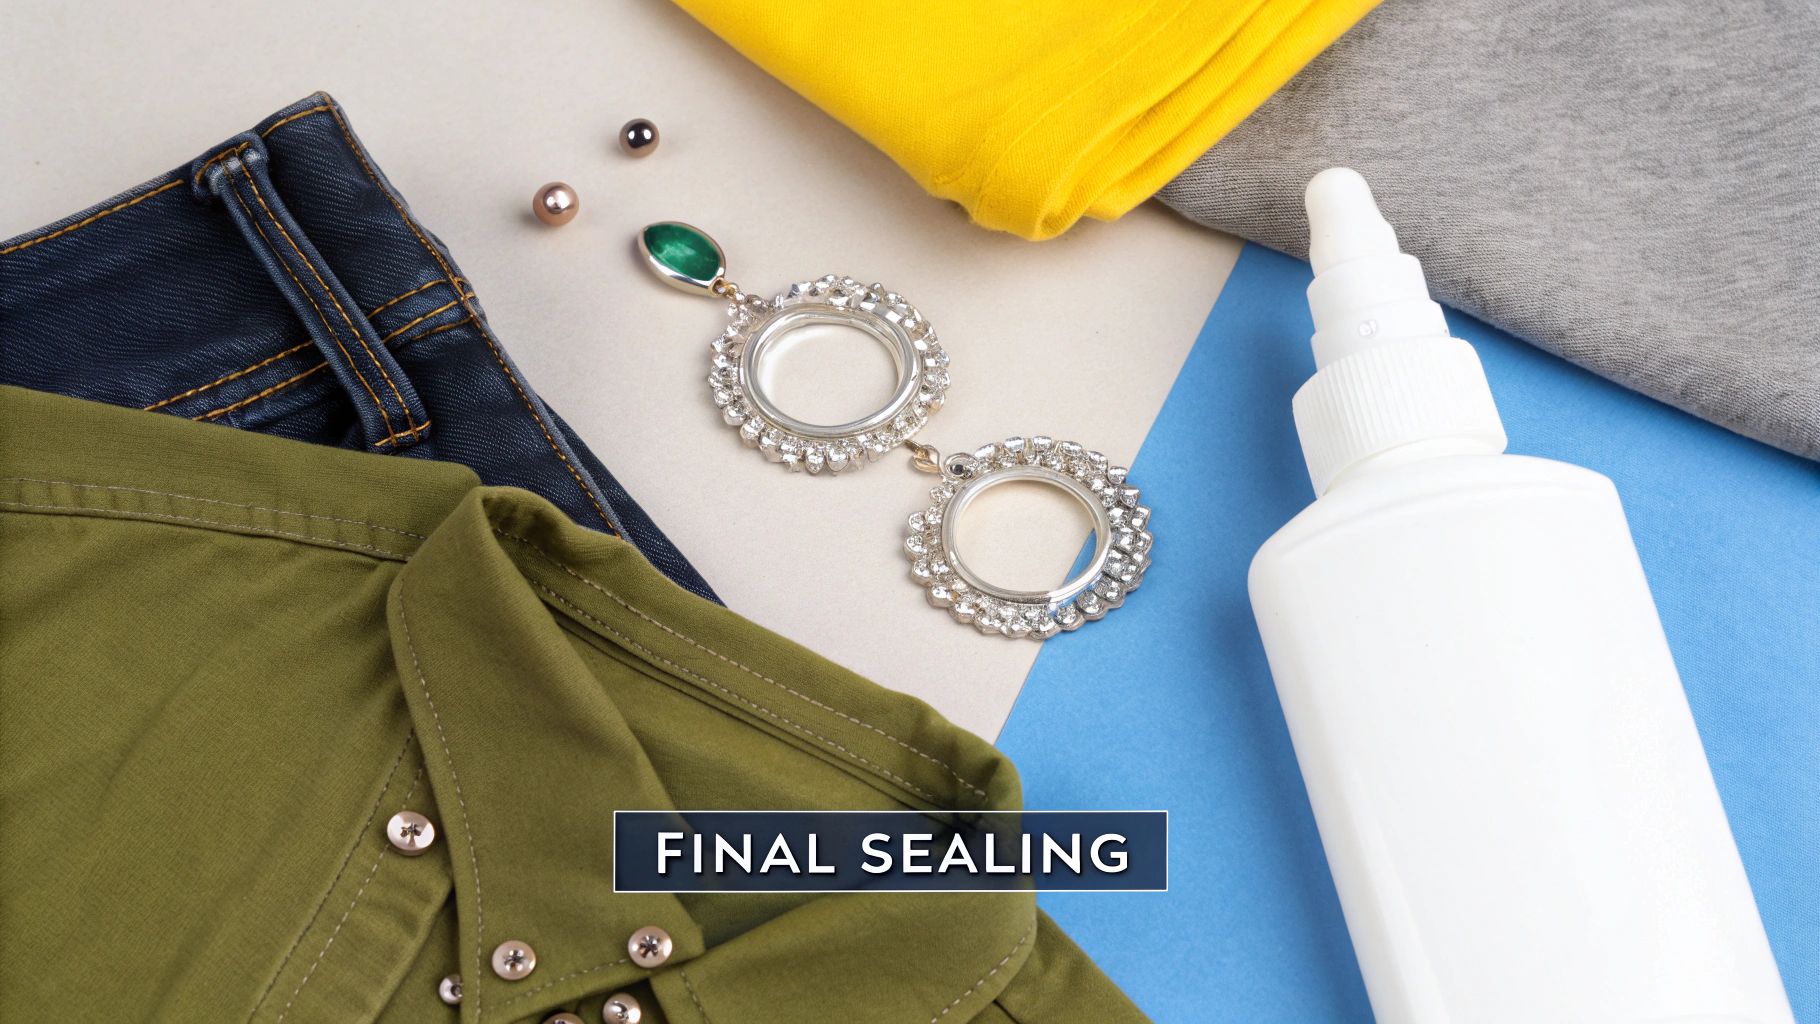
Instead, your new cleaning routine should be refreshingly simple. Most of the time, a soft, dry cloth is all you need to gently wipe away any dust or oils. Our own Precious Pulse Jewelry Polishing Cloths are perfect for this, designed to be gentle on delicate finishes while effectively removing buildup.
If it needs a little more help, a slightly damp cloth can do the trick. Just be sure to dry the piece completely afterwards, as leftover water can cause spotting.
Proper storage is also a huge part of protecting the finish. We recommend storing your pieces separately in a small pouch or a lined jewelry box. This prevents them from scratching against other items, which can slowly wear away that darkened layer. For more tips that cover all types of sterling, check out our full guide on how to care for sterling silver.
With the silver market expected to grow annually by around 4.6% through 2034, unique finishes like oxidation are becoming a big deal for buyers. Taking these simple steps ensures your pieces keep their unique character for years. You can read more about global silver market trends on straitsresearch.com.
Common Questions About Oxidising Silver
Before you jump into your first DIY oxidation project, it's normal to have a few questions. The process is part science, part art, and getting answers to common "what ifs" will give you the confidence to get a great result.
Here are the most frequent questions we hear, fully answered for you.
Can I Oxidise Silver-Plated Jewellery?
The short answer is no, it's not recommended. Trying to oxidise a plated piece is a gamble, as the chemical reaction can damage the thin silver layer and expose the base metal underneath. This can result in an ugly, patchy finish that is impossible to fix.
This technique works best and most reliably on solid sterling silver (92.5%) or fine silver (99.9%). Stick to solid silver to get the beautiful, consistent finish you're looking for.
What if My Jewellery Has Gemstones?
This requires extreme caution. Many stones, especially porous ones like turquoise, pearls, opals, and coral, can be permanently damaged by oxidising solutions. They will absorb the chemicals, leading to discoloration or structural damage.
- Vulnerable stones: Turquoise, pearls, opals, coral, lapis lazuli.
- Safer stones: Hard, non-porous gems like diamonds, sapphires, and rubies are more resistant, but there's always a slight risk.
It’s safest to only oxidise all-metal pieces. If a stone is impossible to remove, you can try protecting it with a resist like clear nail polish, but this is never a guaranteed safeguard.
The best practice is to remove any delicate gemstones before beginning. If that's not possible, it's better to avoid treating the piece altogether than to risk ruining it.
How Do I Reverse Oxidation if I Make a Mistake?
Don't worry, it's almost always fixable! This is one of the most forgiving DIY jewelry projects. If you over-darken a piece or just don't love how it turned out, you can easily remove the oxidation.
A simple paste of baking soda and water, or a commercial silver polishing cream, will do the trick. Gently rub the paste onto the piece with a soft cloth to scrub off the darkened layer. It might take a bit of elbow grease, but you can usually restore your jewelry to its original bright silver finish and start over.
Will the Oxidised Finish Wear Off Over Time?
Yes, and that’s part of its charm. The darkened finish is a surface treatment, so it will naturally wear away with time and friction, especially on high-contact areas like the band of a ring or the edges of a pendant.
This isn't a flaw; it's what gives the piece an evolving, lived-in character that tells a story. And the best part? You can always re-oxidise it by following the exact same process to bring back that deep, dark look whenever you wish.
Ready to find the perfect piece for your next DIY project or add a professionally finished one to your collection? Explore the stunning and affordable sterling silver collection at Precious Pulse Jewelry today! Find your next favorite ring or pendant at https://preciouspulsejewelry.com.